

When we hear the word 3D, many of us immediately think of going to the movies and donning those strange 3D glasses. The film jumps out at us rather than being a flat image on the screen. The same logic applies to 3D photography. It produces images with greater depth. They're more realistic, and the detail jumps off the page. It can make us feel like we are in the picture rather than just looking at it. But, exactly, what is 3D photography? And how is it different from regular photography? In this article, we'll take a deep dive into the world of 3D photography. We'll go over the history of 3D images as well as how they're created. We'll also offer some pointers on how to make 3D photography. And don't be concerned. This article does not necessitate the use of any special glasses.
What Exactly is 3D photography?
A typical photograph, whether printed or digital, is two-dimensional. Only height and width can be detected. There is no depth, so the image appears flat. 3D photography adds depth to the image. Adding a third dimension makes the subject sound proud or gives us the impression that we can move around inside the photograph. It looks fantastic, but how does 3D photography work?
How to Make 3D Photography?
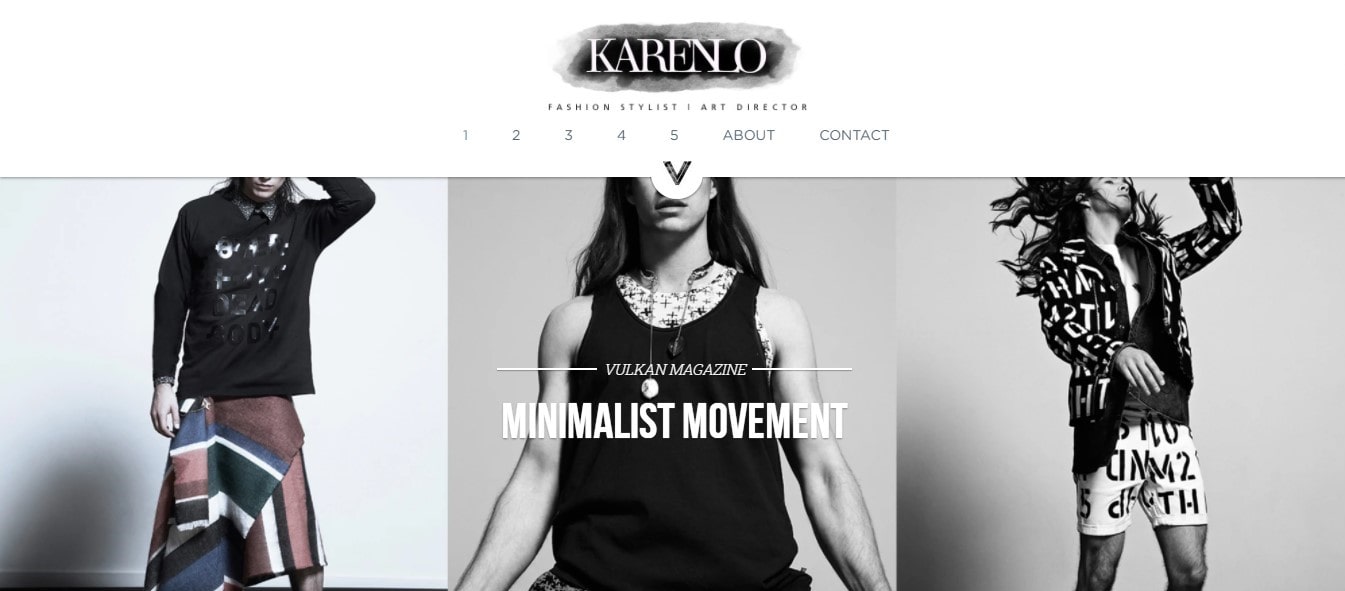
Image is taken from Strikingly user’s website
All of this talk about stereopsis and binocular vision may deter you from taking a 3D photograph. The language has been a little dry. But don't be concerned. To create 3D images, you do not need to be a scientist.
There are now numerous methods for creating 3D photos. You can do it in Photoshop post-processing. You can also get apps for your smartphone. Facebook even has an app for uploading 3D images to the platform.
You can duplicate your photograph using digital photography. Then, in post-processing, you can make minor changes to each image. When you combine them, you get a 3D photo. When you shoot 3D photos, you are bringing your 3D images to life. You simply take 3D photographs of subjects that are about 2.5 inches or 63 mm apart. This offset distance is nearly the same as the distance between the pupils of your two eyes. The two 3D photographs are then examined by the eye in turn. Your brain is in charge of combining the two captured images, creating the three-dimensional effect you've been looking for. Learning how to create 3D photography could be your next hobby. You can begin experimenting by photographing toys, pets, and even the most insignificant objects you come across. It is a good way to start a new hobby, especially in this day and age when we are expected to stay at home the majority of the time. Who knows, you could be the next 3D photography pro or even start your own 3D photography business. Doesn't that sound like fun?
However, you do not have to rely on computers. You can try some manual processes if you still enjoy getting your hands dirty. Purchasing a vintage stereo camera isn't a bad idea. A Sputnik in good condition can be found online. However, you do not even need a 3D camera. Experiment with 3D photography using your DSLR or even your smartphone. We'll go over three more hands-on techniques with you.
1. The Rocking Technique


Image is taken from Strikingly user’s website
It's the simplest method, and you don't need any special equipment. You only need a camera. Your smartphone's camera will also work. The subject or scene must first be identified. The subject in 3D photography must be static. Anything that moves, even slightly, will not function. Once the scene has been chosen and framed, the photographer must establish a solid foundation. Then, they will place all of their weight on one foot for the first shot. This causes them to lean slightly in that direction. The photographer will shift their weight to the opposite foot for the second shot. As a result, two photos of the same scene are offset. It's the same image as before but from a slightly different angle. The images must then be brought together. Photoshop, Stereo Photo Maker, and AutoPano are all options.
2. The Tripod Technique


Image is taken from Strikingly user’s website
This method is similar to the rocking method, but it uses a tripod. If the lighting is poor or you're working in a studio, a tripod may be required. 3D techniques are an excellent way to spice up your fashion or product photography. The subject or model must be placed in the center of the frame. That is how the first shot is taken. The camera and tripod are then shifted to the left or right. They should not be moved more than two inches, as this is the average distance between the eyes of a human. The subject must be re-centered before the second shot is taken. This may entail slightly changing the angle to maintain the same framing. Then it's time for the follow-up shot. Again, the two images must be merged in post-production.
3. Construct Your Own Mirror Splitter
This method is a little more difficult and requires some DIY skills. However, experimenting with it can be a lot of fun, and the results can be breathtaking. In total, four mirrors are used: two small mirrors and two large mirrors. The small mirrors serve to divide your frame. The view is then reflected back onto the subject by the two large mirrors. As a result, the image contains two images of the same scene. However, the two images are slightly offset from one another due to the position of the mirrors. They are then combined to form the 3D image.
What Tools do i Need for 3D Photography?
As previously stated, no special 3D photography camera is required to take your photos. However, there are various photography tools available to help you achieve a higher-quality result.
∙ Tripod
A good working tripod is an essential piece of 3D photography equipment when photographing your subject. Taking 3D images will necessitate a lot of movement of your hands and arms. You wouldn't want your arms to be sore due to too much movement for the right angles, would you? A good tripod can assist you in taking the best 3D photographs at any angle you desire. It can also assist you in keeping your 3D photography camera in place and at the proper height to ensure that your photography subject remains in the center frame of the camera.
∙ Dual-camera Configuration or Stereo Lenses
A dual-camera setup or some stereo lenses are also useful pieces of 3D photography equipment. This equipment is one of the most effective tools for capturing moving objects. It will also allow you to capture 3D photography shots from two angles simultaneously. There are many different types of cameras, including dual-camera mounts, which are widely available online. This kit allows you to mount two cameras on a single tripod. However, if you are on a tight budget and are not yet ready to invest in a second 3D photography camera, a stereo lens could help you get started with 3D photography. These photography lenses can divide the view of your camera into two distinct angles, making it easier to achieve a 3D effect.
Display Your 3D Photographs with Strikingly


Image is taken from Strikingly user’s website
Now that you've mastered the fundamentals of 3D photography, here's a bonus for you. Many aspiring professionals in various fields have found that online portfolios are their most effective weapon. Creating an online portfolio assisted them in landing their dream jobs and even making a living from them. You, too, could be like them! Strikingly isn't your typical portfolio builder. Rather, it is a one-click friend who can help you greatly expose your works to the rest of the world. Strikingly has it all, from a free collection of art portfolio website designs to an incredible set of features. Here are some pointers to help you get started with your own 3D photography portfolio on Strikingly.
- Always select the best website template design for your 3D photography portfolio
- Maintain your brand's uniqueness and visibility among your target audience
- Always remember to include your best photos when creating your online portfolio gallery
- Don't be shy about sharing behind-the-scenes footage from your shoot. Rawness is usually what consumers fall in love with
- Include a section with testimonials and service reviews from previous customers. It increases the trustworthiness of potential customers
- Keep your 3D photography portfolio up to date. Make sure your audience is up to date on the latest news about you and your website so you don't miss out on new clients
- Make your online photography portfolio easy to find and use for your clients
- Seek inspiration from your family, friends, and coworkers to keep your passion alive
- Find a mentor who can help you improve your photography skills and learn new ideas for your next project
- Schedule a portfolio review event to let yourself know where you need to improve and to better understand your audience
Conclusion
Doing 3D photography will be more enjoyable if you have the opportunity to share it with an audience. Aside from receiving the recognition you deserve, you will also have the opportunity to meet people who share your interests. You can meet new people and learn new things about 3D photography together. You can even open your own store and begin selling your artwork. Just one incredible way to show the world your one-of-a-kind skills and abilities.

